Mastering Car Repairs: A Guide to Ultimate Body Filler for ultimate vehicles
When it comes to restoring or repairing a car, especially high-end vehicles, the quality of your car body filler makes all the difference. If you’re looking for a seamless, long-lasting finish, choosing the right body filler and applying it correctly is crucial. Whether you’re a professional body shop or an enthusiast working on a personal project, understanding how to choose and use car body filler will help you achieve that perfect, smooth finish.
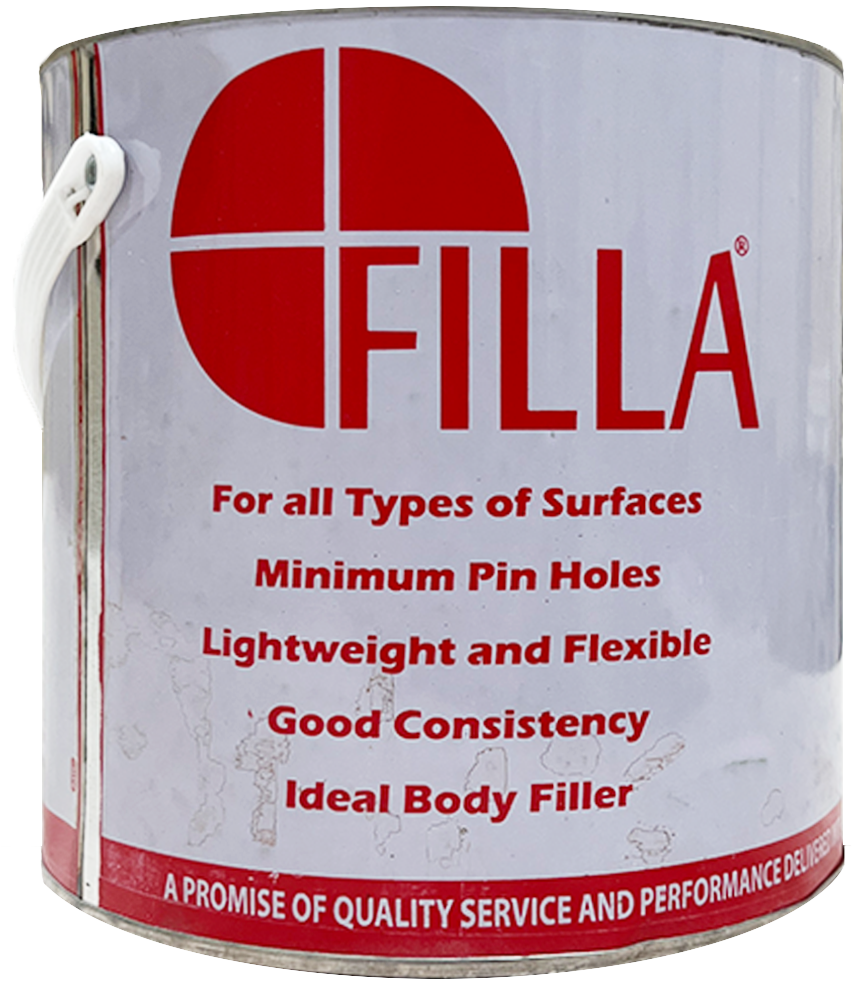
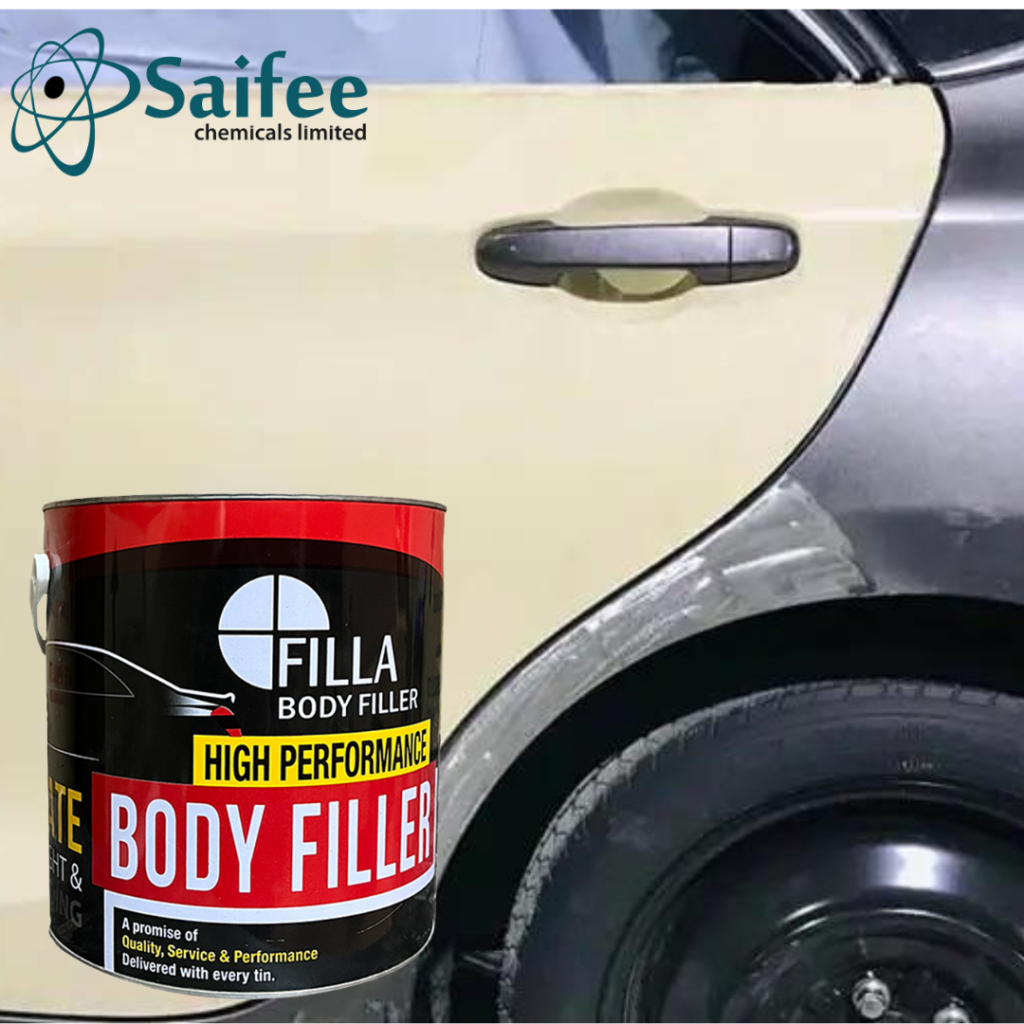
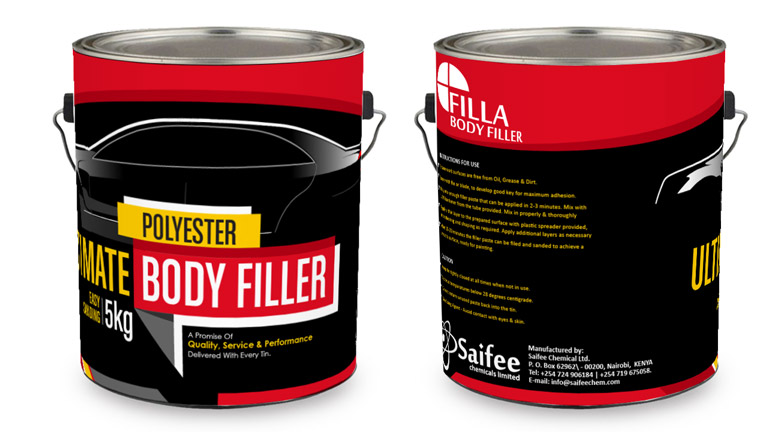
At Saifee Chemicals Ltd, we manufacture and sell Ultimate Body Filler, the ideal solution for high-end car repairs. With its superior adhesion, easy sanding properties, and ultra-smooth finish, it stands out as one of the best body fillers in Kenya and across Africa. In this guide, we’ll walk you through how to choose the right filler, when to use it, and how to apply it for the best results. Let’s dive in!
1. What is a Body Filler?
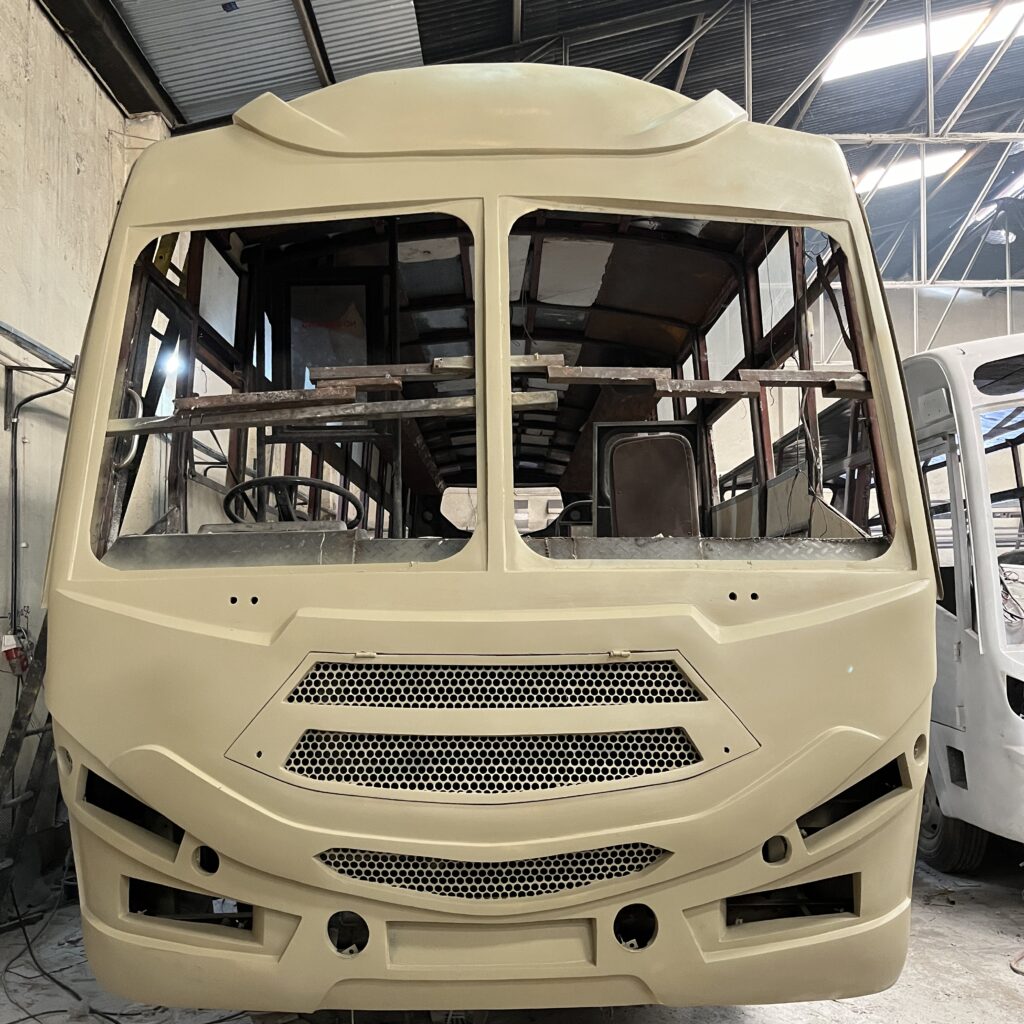
A body filler is a putty-like substance used to fill dents, dings, and other imperfections in a car’s body. It provides a smooth, even surface before sanding and painting. High-end vehicles, like luxury or performance cars, demand a premium finish, so the quality of the car body filler you choose can directly affect the final look and durability of the repair.
2. Why Choose Ultimate Body Filler?
Not all fillers are created equal, and choosing the right one for your car is vital. Ultimate Body Filler offers several advantages that make it a top choice for high-end cars. Here’s why:
- Premium Quality: Designed to meet the demands of professional body shops and car enthusiasts alike, Ultimate Body Filler offers excellent adhesion and durability.
- Smooth Application: This filler spreads easily, reducing the chance of pinholes and imperfections during application.
- Easy Sanding: One of the standout features of Ultimate Body Filler is its ability to be sanded down effortlessly, leaving a glass-like finish.
- Resistance to Shrinkage: Unlike some cheaper fillers, Ultimate Body Filler is less prone to shrinking after curing, which means fewer chances of cracks or uneven surfaces over time.
- Versatility: Suitable for various surfaces including steel, aluminum, and fiberglass, making it a great all-rounder for high-end car repairs.
3. How to Choose the Right Body Filler
When choosing a body filler for your car, there are a few factors to consider:
- Type of Vehicle: High-end cars often have more complex body structures, so it’s crucial to choose a filler like Ultimate Body Filler that adheres well to a variety of materials.
- Repair Size: For minor dings and small repairs, you may need a thinner application. For larger dents or damaged panels, look for a filler that offers both thickness and smooth application.
- Durability: Luxury cars require a filler that will stand the test of time. Cheaper fillers can deteriorate, crack, or shrink, ruining the finish. Ultimate Body Filler is formulated for long-lasting results.
- Sandability: You want a filler that can be sanded easily without clogging your sandpaper or leaving imperfections. Ultimate Body Filler is known for its excellent sanding characteristics.
4. How to Use and Apply Ultimate Body Filler
Now that you know why Ultimate Body Filler is the right choice for your car, let’s go over how to apply it correctly to achieve a professional result.
Step 1: Prepare the Surface
Before applying any filler, proper surface preparation is essential. Here’s how:
- Clean the Surface: Remove any dirt, grease, or rust from the area you’re repairing. Use a degreaser and a clean rag to ensure the surface is as clean as possible.
- Sand the Area: Sand the damaged area down to bare metal using a coarse grit sandpaper (80 to 180 grit is ideal). This helps the filler adhere properly to the surface.
- Wipe Off Dust: After sanding, wipe the surface clean with a tack cloth to remove any dust or debris. A clean, dry surface is key for a smooth application.
Step 2: Mix the Filler
Next, it’s time to mix your filler. Ultimate Body Filler comes in two parts: the filler itself and a hardener (catalyst). Here’s the right way to mix them:
- Use a Mixing Board: Avoid mixing on cardboard or surfaces that can absorb the chemicals.
- Proper Ratio: Follow the manufacturer’s guidelines, but a general rule of thumb is to mix a golf ball-sized amount of filler with a pea-sized amount of hardener.
- Mix Thoroughly: Use a plastic or metal spreader to blend the filler and hardener evenly. The mixture should be a uniform color, free of streaks.
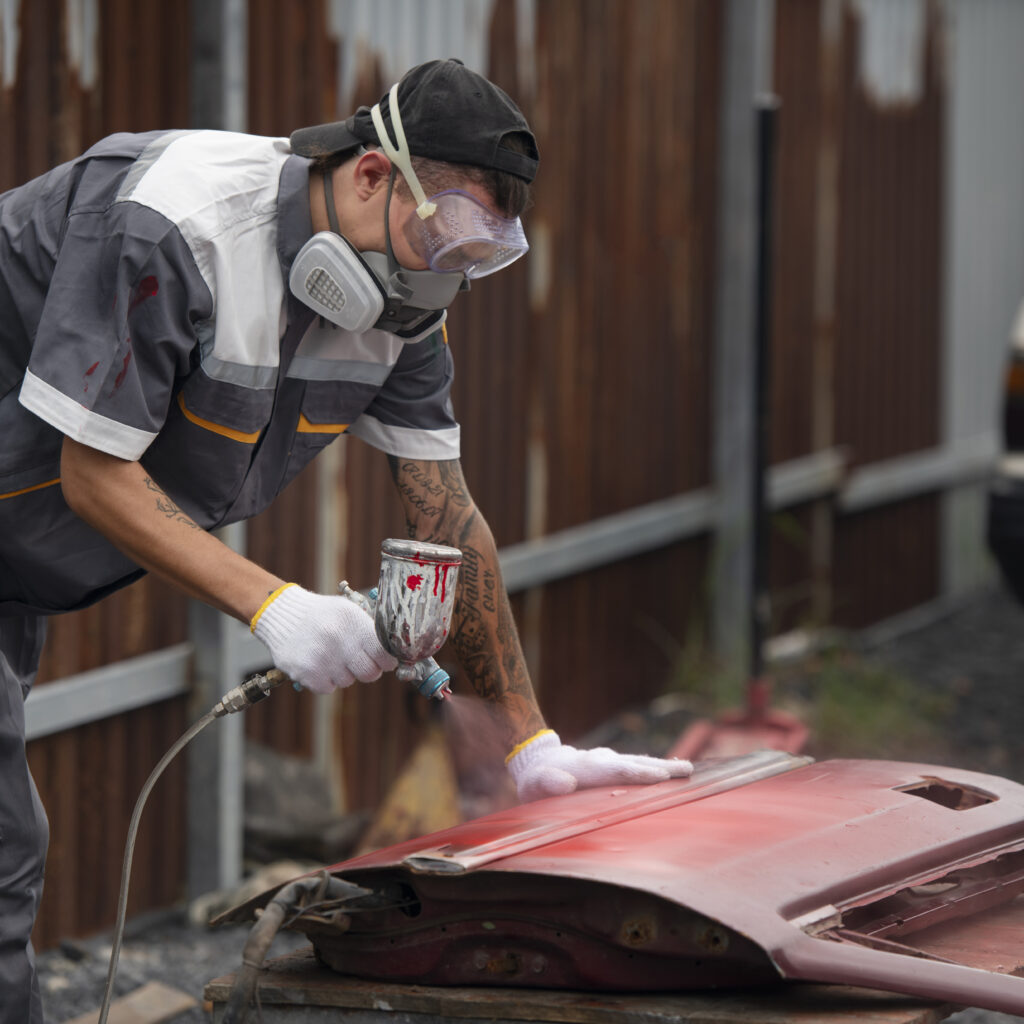
Step 3: Apply the Filler
Now it’s time to apply the filler:
- Work Quickly: Once mixed, the filler begins to harden. Apply it within 5-10 minutes to get the best results.
- Use a Spreader: Using a plastic spreader, apply the filler to the damaged area, pushing it into the dent. Spread it evenly, making sure not to leave air pockets.
- Layer if Necessary: For deeper dents, it’s better to apply several thin layers rather than one thick layer. Allow each layer to dry before applying the next.
Step 4: Let it Cure
Once applied, the filler needs to harden. The curing time for Ultimate Body Filler is usually 10-15 minutes, depending on temperature and the amount of hardener used.
Step 5: Sand the Filler
After the filler has fully cured, it’s time to sand it down:
- Start with Coarse Grit: Begin with 80 to 180 grit sandpaper to shape the filler. Use a sanding block to keep the surface level.
- Switch to Fine Grit: Once the shape is close to perfect, switch to a finer grit (220 to 320 grit) for smooth finishing.
- Check for Pinholes: Sanding may reveal tiny pinholes or imperfections. You can apply a thin layer of filler to fill them in and sand again.
Step 6: Final Prep Before Painting
After sanding, the surface should be smooth and seamless. Before painting, wipe the area down with a tack cloth and ensure it is free of dust. The repair is now ready for priming and painting!
5. Tips for the Best Results
- Work in a Clean Environment: Dust and debris can ruin a perfect finish. Try to work in a clean, dry, and well-ventilated space.
- Use the Right Tools: A good spreader and sanding block can make all the difference in achieving a smooth finish.
- Be Patient: Don’t rush the curing or sanding process. Give the filler time to set before moving on to the next step.
Conclusion
Choosing the right body filler is crucial when repairing high-end cars, and Ultimate Body Filler is designed to deliver the best possible results. Whether you’re dealing with minor dings or more significant repairs, following these application steps will help you achieve a professional, showroom-quality finish.
By focusing on quality fillers like Ultimate Body Filler, your car repair job will not only look great but also stand the test of time. Whether you’re in Kenya or across Africa, you can trust Ultimate Body Filler to provide the durability, smoothness, and ease of use that high-end cars deserve.
Now that you know how to choose and use the right body filler, you’re one step closer to getting that flawless, seamless finish for your vehicle. Happy filling and sanding!